
Building a wood-fired oven is a rewarding project, but its success depends largely on the materials you choose. A pizza oven must cope with high temperatures, direct fire and repeated heating and cooling, all of which place heavy demands on the structure. Using the wrong materials can lead to poor heat retention, cracking and disappointing cooking results. When done properly, however, a well-built oven becomes a reliable tool for cooking food, baking bread and making perfect pizza in your own garden.
Whether you are planning a DIY pizza oven or considering a pre-made outdoor pizza oven, understanding the role of each material is essential. From the base and oven floor to the brick dome and insulation, every layer has a purpose. This guide focuses on the practical materials needed for building a pizza oven that performs well, lasts for years and turns your garden pizza oven into a true centrepiece.
Planning Your Wood-Fired Oven Before You Start Building
Before you start building, it is important to plan the oven carefully. The choice of location affects not only convenience, but also the type and amount of materials required. A garden pizza oven needs a stable area with enough space around it for safe use and comfortable cooking. The ground should be level and capable of supporting the weight of a brick oven, while the oven should be positioned at a sensible distance from the house.
Planning also involves deciding on the size and style of the oven. A compact outdoor pizza oven may suit smaller gardens, while a larger DIY pizza oven allows more flexibility for cooking bread, pizza and other food. Pre-made ovens reduce construction time, but still require proper foundations and insulation. By planning these details early, you can gather the right materials, avoid unnecessary changes and start building with confidence.
Base and Foundation Materials: Supporting the Oven’s Weight
A solid base is essential for wood-fired ovens, as the combined weight of bricks, insulation, and concrete is considerable. The foundation usually begins with a concrete slab poured directly onto stable ground. This slab spreads the load evenly and prevents movement that could lead to cracks later on. A simple mix of cement, sand, and aggregate is typically used, with enough depth to support the oven safely.
On top of the slab, many builders use breeze blocks to create a sturdy stand. These blocks are strong, easy to work with and help raise the oven to a comfortable cooking height. In some cases, a wooden pallet is used temporarily as a form when pouring concrete, helping to shape the base accurately. Taking time to build a proper foundation ensures the oven remains level, secure and safe throughout its life.
Fire Bricks and the Oven Floor
Fire bricks are one of the most important materials in a wood-fired pizza oven. Unlike standard house bricks, fire bricks are designed to withstand high temperatures without cracking or losing strength. They absorb and store heat efficiently, which is essential for consistent cooking and even baking.
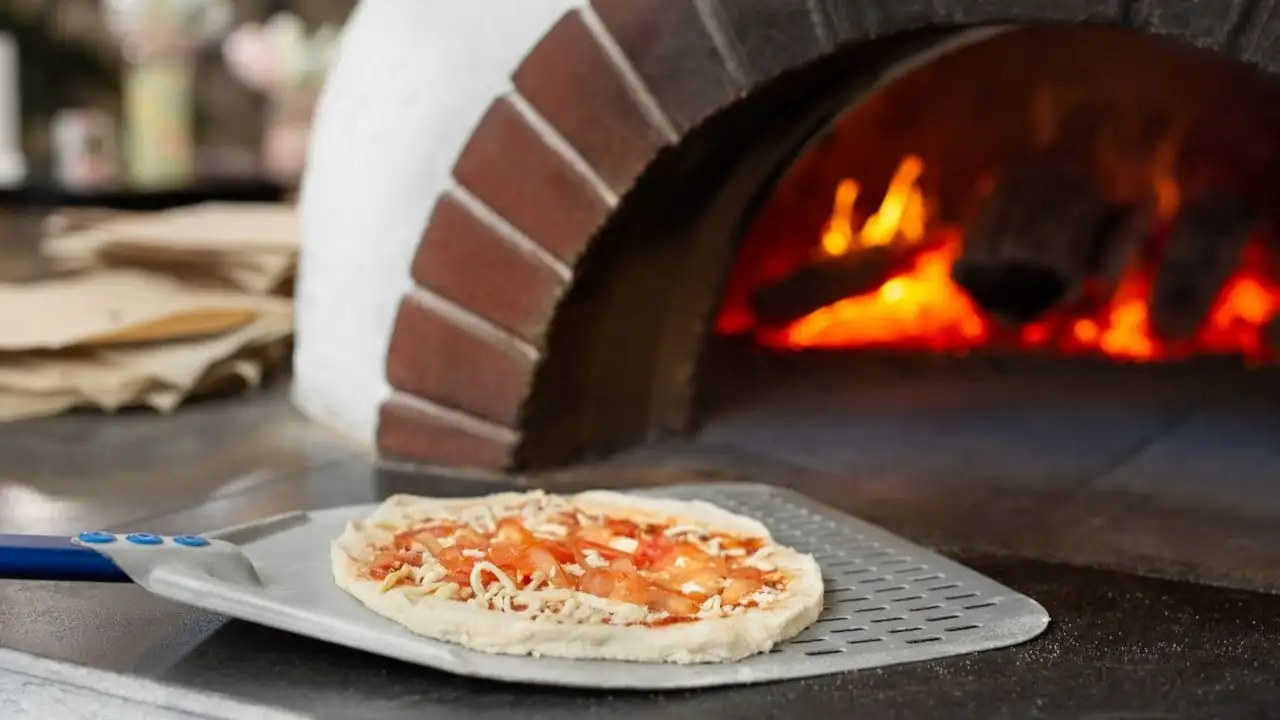
The oven floor is typically built using a single layer of fire bricks laid closely together. A thin layer of sand or fine cement mix beneath the bricks helps create a level surface and allows small adjustments during placement. Tight joints are important, as gaps can affect heat transfer and make cleaning more difficult. A smooth, flat oven floor supports pizza dough during baking and helps achieve the crisp crust associated with the best pizza.
Building the Brick Dome: Shape, Form and Structure
The brick dome is the heart of a wood-fired oven and plays a major role in how heat circulates inside. Its curved shape reflects heat back onto the food, creating the high, even temperatures needed for wood-fired pizza cooking. Fire bricks are commonly used for the dome because they cope well with direct flame and repeated heating. In some designs, clay bricks may be used as outer layers, but the inner surface should always be heat-resistant.
To achieve the correct form, builders often create a temporary guide or mould to support the bricks as the dome rises. Chicken wire can be used to help hold the shape, especially when working with mortar during early stages. Bricks are usually cut in half to follow the curve, with each layer carefully positioned from the middle upwards. Taking time with this stage improves strength, appearance and long-term performance.
Mortar, Cement, and Joints for High Temperatures
The mortar used in a wood-fired oven must be suitable for high temperatures. Standard building cement is not designed for direct exposure to heat and can crack over time. A heat-resistant cement mix, often combined with sand, is required to create strong and durable joints between the bricks.
Mixing the mortar correctly is just as important as choosing the right ingredients. The consistency should be workable but not too wet, allowing it to bond well without shrinking excessively as it dries. Strong, well-formed joints help the oven structure cope with heat and fire while maintaining stability. Paying attention to mortar quality at this stage reduces the risk of damage and improves the overall lifespan of the oven.
Insulation Materials: Keeping the Heat Where It Belongs
Insulation is what allows a wood-fired oven to perform efficiently, rather than simply getting hot and cooling down quickly. Without proper insulation, much of the heat escapes through the dome and base, increasing cooking time and fuel use. One of the most effective materials for this purpose is ceramic fibre, which can withstand high temperatures while providing excellent thermal insulation.
Ceramic fibre is typically wrapped around the dome and sometimes placed beneath the oven floor. This creates a barrier that keeps heat inside the oven, allowing it to stay hot for longer periods. Good insulation improves temperature control, reduces heat loss and makes it possible to cook multiple dishes in one firing. A well-insulated oven remains hot enough for baking bread and slow cooking long after the fire has burned down.
Chimney, Roof, and External Finishing Materials
The chimney plays an important role in managing smoke and airflow within the oven. It helps draw flames across the dome and out of the cooking chamber, improving heat distribution. Chimneys can be made from steel, clay or pre-made systems designed specifically for wood-fired ovens. The choice often depends on budget, appearance, and ease of installation.
External finishing materials protect the oven from weather and add visual appeal. A simple roof helps shield the oven from rain, while outer layers may be secured using landscape adhesive or a suitable render. These finishing touches improve durability and allow the oven to blend naturally into the garden. With the right materials, the oven becomes both functional and attractive.
Wood, Fire and First Firing the Oven
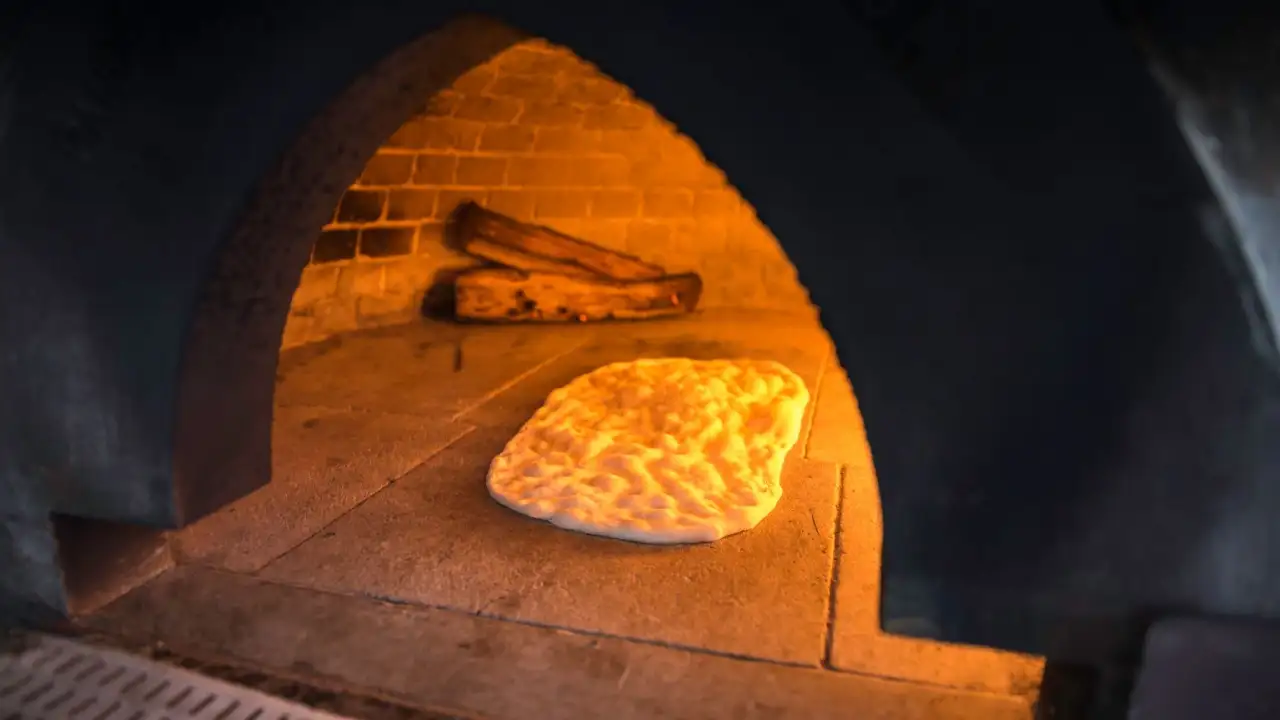
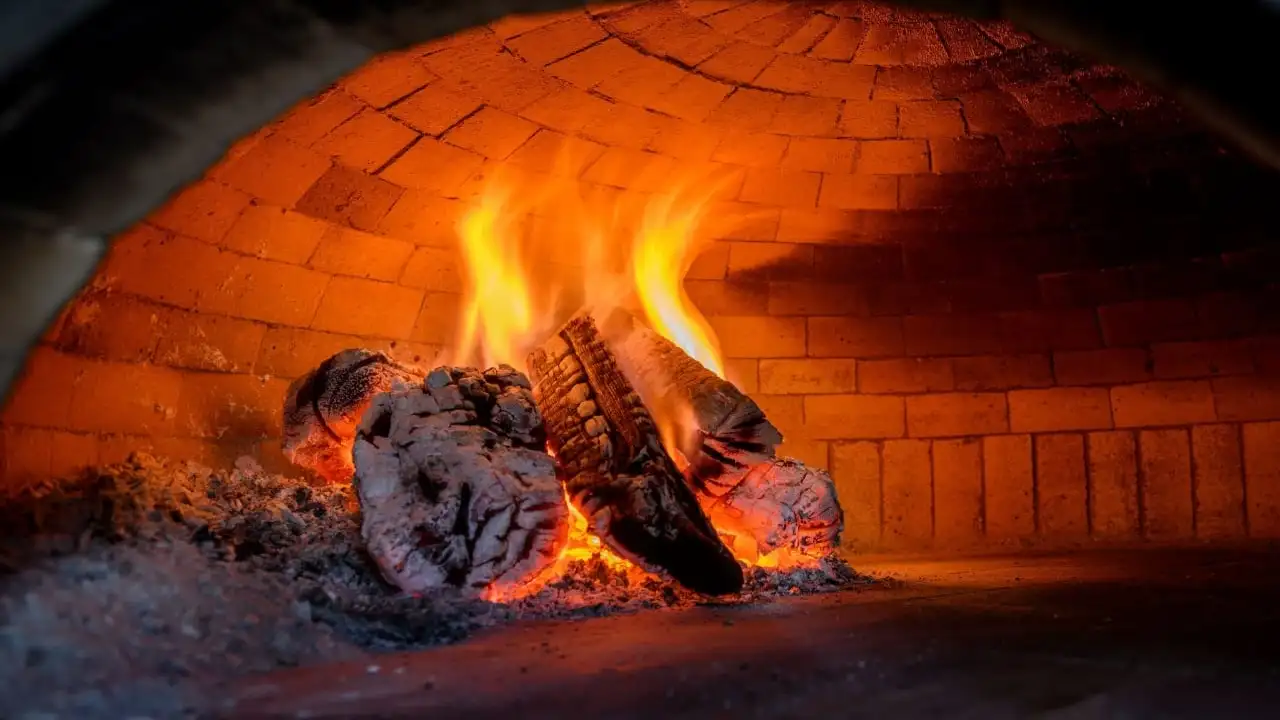
Once construction is complete, the final materials to consider are those used during operation. Wood is the primary fuel for a wood-fired oven and should be dry and well seasoned. Small pieces of wood are ideal for building a small fire and gradually bringing the oven up to temperature. Rushing this stage can cause stress to the structure, especially during the first firing.
The first few fires should be gentle. Allow the oven to warm slowly so any remaining moisture in the bricks and mortar can escape. Watching the flame and learning how the oven responds helps you understand heat behaviour and airflow. A simple test, such as brushing a little olive oil onto the oven floor and observing how it reacts, can give a rough indication of temperature. This careful approach prepares the oven for regular cooking and long-term use.
From Materials to Pizza: What You Can Cook
With the oven fully cured and ready, the focus shifts from materials to food. A properly built wood-fired oven excels at making pizzas, producing high heat that cooks pizza dough quickly and evenly. The result is a light, crisp crust with well-cooked toppings and rich flavour. This level of performance transforms the pizza game at home.
Beyond pizza, the oven is versatile. It can bake bread, roast vegetables, cook meat and prepare complete meals. Managing cooking time and temperature allows you to move from pizza to slower dishes as the oven cools. From simple flatbreads to full roasts, the oven becomes a central cooking tool rather than a single-purpose feature.
Final Thoughts: Creating Your Own Garden Pizza Oven
Building your own pizza oven is a practical project that delivers lasting rewards. The quality of materials used at each stage, from the foundation to the insulation and finishing touches, directly affects performance and durability. Taking time to choose the right bricks, cement, and insulation ensures the oven can handle heat, fire and regular use.
Once complete, the oven becomes more than a structure in the garden. It creates opportunities to cook, share food and enjoy time outdoors. With careful planning and the right materials, you can create an oven that produces excellent results and provides enjoyment for many years to come.
For more informative articles, visit our site daily.